Keycloak series | #1: Introduction to Keycloak with Blazor

Updated: Feb 24
When building modern web applications, managing user authentication securely and efficiently is a top priority. If you are a .NET developer working with Aspire and Blazor Server, you might have heard about Keycloak as a popular open-source identity and access management solution. Keycloak supports OpenID Connect (OIDC), making it a powerful tool to handle authentication without reinventing the wheel. This post is the first in a series where I’ll introduce you to Keycloak, explain its core concepts, and show how it fits into Aspire and Blazor Server projects but this can work with any other language that you're using. The beauty of Keycloak is that its code agnostic and it follows all authentication and authorization standards, it has been developed by RedHat and is also a software supported by the Cloud Native Computing Foundation.
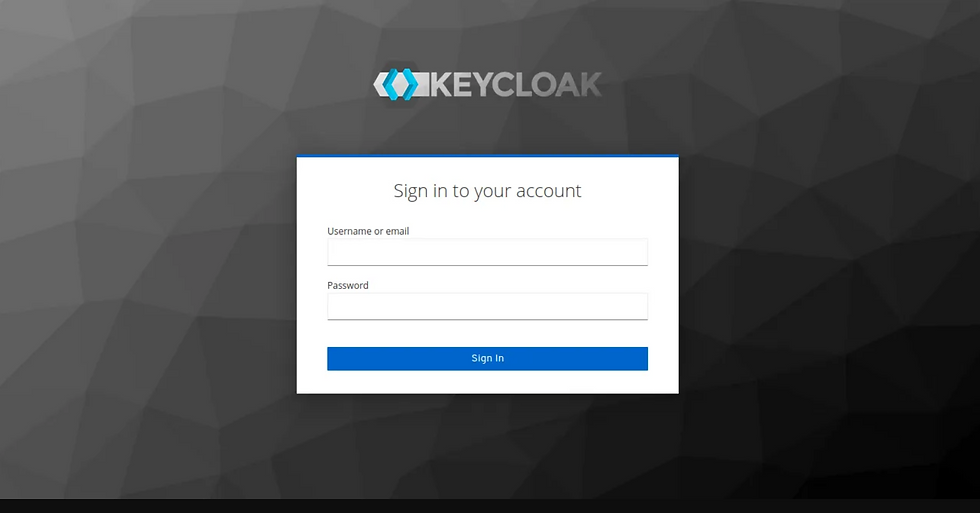
Keycloak login page on a desktop app.
What is Keycloak and Why Use It?
Keycloak is an open-source identity and access management system that simplifies adding authentication and authorization to your applications. Instead of building your own user management system, Keycloak provides a ready-made solution that supports:
Single sign-on (SSO)
Social login integration
User federation (connecting to existing user databases)
Role-based access control
Standard protocols like OIDC and OAuth 2.0
For developers working with Aspire and Blazor Server, Keycloak offers a way to centralize authentication, so your apps can focus on business logic rather than security plumbing.
How Keycloak Works with OIDC
Keycloak uses OpenID Connect (OIDC), which is an identity layer on top of OAuth 2.0. OIDC allows your application to authenticate users by redirecting them to Keycloak’s login page (custom or out of the box). After successful login, Keycloak issues tokens your app can use to verify the user’s identity and permissions.
This means your Blazor Server app doesn’t handle passwords directly. Instead, it trusts Keycloak to authenticate users and provide tokens that confirm their identity.
Setting Up Keycloak with Aspire and Blazor Server
Before integrating Keycloak with your Blazor Server app, you need a running Keycloak server. You can deploy Keycloak locally using Docker or install it on a server.
Step 1: Run Keycloak Server
Using Docker, you can start Keycloak quickly:
docker run -p 8888:8080 -e KEYCLOAK_USER=admin -e KEYCLOAK_PASSWORD=admin quay.io/keycloak/keycloak:latest start-dev
Although us, we will run it with Aspire
This command runs Keycloak in development mode with an admin user.
Step 2: Create a Realm and Client
Realm: A realm isolates a set of users, credentials, roles, and clients. Think of it as a security domain or an ecosystem for an app or multiple apps that should reside together security wise.
Client: A client represents your application in Keycloak.
Log in to the Keycloak admin console at `http://localhost:8888/` with the admin credentials. Create a new realm for your project, then add a client for your Blazor Server app. Set the client protocol to `openid-connect` and configure the redirect URIs to match your app’s URLs.
Step 3: Configure Aspire and Blazor Server
In your Blazor Server app, you will configure OIDC authentication to connect to Keycloak. This involves setting up the authentication middleware with Keycloak’s endpoints and client details.
Here is a simplified example of how to configure authentication in `Startup.cs` or `Program.cs`:
builder.Services.AddAuthentication(options =>
{
options.DefaultScheme = CookieAuthenticationDefaults.AuthenticationScheme;
options.DefaultChallengeScheme = OpenIdConnectDefaults.AuthenticationScheme;
})
.AddCookie()
.AddOpenIdConnect(options =>
{
options.Authority = "http://localhost:8888/realms/your-realm";
options.ClientId = "your-client-id";
options.ClientSecret = "your-client-secret";
options.ResponseType = "code";
options.SaveTokens = true;
options.Scope.Add("openid");
options.Scope.Add("profile");
});
This setup tells your Blazor Server app to use Keycloak for authentication via OIDC.


Developer configuring OIDC authentication in Blazor Server
How Authentication Flows (with PKCE (pronounce pixie)) works with Keycloak and Blazor Server
Understanding the authentication flow helps you troubleshoot and customize your app’s security.
User tries to access a protected page in your Blazor Server app.
App generates a Code Verifier and Code challenge
The app redirects the user to Keycloak’s login page.
The user enters credentials, and Keycloak validates them.
After successful login, Keycloak redirects back to your app with an authorization code.
Your app exchanges the code for tokens (ID token, access token).
The app uses the tokens to establish the user’s identity and roles.
The user gains access to protected resources.
This flow ensures your app never handles passwords directly, improving security.
Tips for Working with Keycloak in Aspire and Blazor Server
Use HTTPS in production to protect tokens and credentials.
Regularly update Keycloak to benefit from security patches.
Take advantage of Keycloak’s user federation if you need to connect to existing user databases like LDAP.
Customize Keycloak’s login pages to match your app’s branding.
Use refresh tokens to keep users logged in without frequent re-authentication.
Monitor Keycloak logs to troubleshoot authentication issues.

Quickly & easily have security headers out of the box.

GitHub Repository
For all examples and sandbox to play with working code
Here's the repo and for this context you can pull changes related to the tag part-1


Comments